Creating Document-Based iOS Apps Part 1
iOS support for document-based apps opens up new categories of apps for you to develop. Want to develop screenwriting software? A video editing app? A level editor for a game? By making a document-based app you can make iOS versions of these types of apps.
In iOS 11 Apple simplified creating and opening documents, making it easier for developers to create document-based apps. Unfortunately Apple did not update their documentation to reflect these changes.
This article helps document those changes. To make things more manageable, I divided it into two parts. This part covers the higher-level concepts. The second part walks you through creating a rich text editor.
What Are Document-Based Apps?
Document-based apps let people create documents that they can share. Examples of document-based apps include text editors, spreadsheets, and image editors. The document is the text, spreadsheet, or image that you’re editing.
Document-based apps are more common on Macs than on iOS. But by learning how to create document-based apps in iOS, you can build powerful apps that used to require a Mac to run.
The Classes
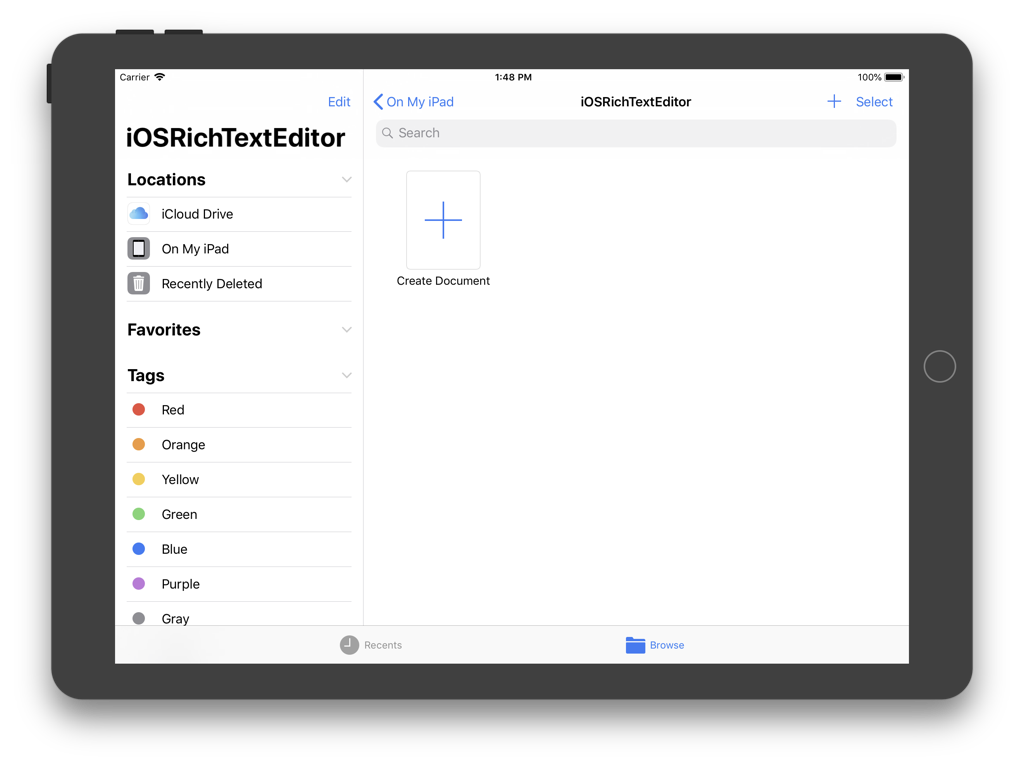
There are two classes to study to develop document-based apps. The first class is UIDocumentBrowserViewController, which controls the document browser.
The document browser is where someone using your app creates and opens documents. The following screenshot shows what the document browser looks like initially:
The second class is UIDocument, which represents the document. When you create a document-based app project, Xcode includes a UIDocument subclass for you. You use this class to store any data properties related to your document.
Your Tasks
You have to perform the following tasks to develop an iOS document-based app:
- Create a document-based app project in Xcode.
- Set up your document type to create new documents.
- Implement delegate functions in the document browser view controller to handle creating new documents and selecting documents from the document browser.
- Save the document.
- Open the document.
It looks like a lot of work to make a document-based app, but there’s much less code to write than you think. In the project I wrote for the second part of this article, I wrote less than ten lines of code to implement the delegate functions, save the document, and open the document. Apple’s document-based app project template does a lot of work for you.
Creating a Document-Based App Project in Xcode
Creating a document-based app project in Xcode gives you a document browser view controller, a view controller for the document, and a UIDocument subclass.
Setting Up Your Document Type to Create New Documents
There’s a surprising amount of work involved in creating a new document when someone taps the Create Document button in the document browser. You must perform the following tasks:
- Set up the document type.
- Supply a blank file to create documents.
If you are creating a brand new document type, you must also add an exported UTI for the document. UTI stands for Uniform Type Identifier. A UTI uniquely identifies a file type. The exported UTI lets the operating system and other apps know about the existence of your file type.
Set Up the Document Type
When you create a document-based app project, Xcode creates a document type for you. Use Xcode’s project editor to configure the document type. Start by selecting your project from the project navigator to open the project editor and selecting your app target from the left side of the project editor. Click the Info button at the top of the project editor to access the Document Types section.
Enter the UTIs for your document type in the Types text field. If you are creating a new file type, the UTI should take the form com.CompanyName.FileType. If you are using an existing file type, supply its UTI. Suppose you are developing a plain text editor. The UTI for your document would be public.plain-text. Apple has a list of system-declared UTIs, but it’s not being actively maintained.
The Document Types section has a subsection called Additional document type properties. You must add two document type properties. The first property has the key CFBundleTypeRole. Its type is String. Its value should be Editor if you want people to edit your documents.
The second property has the key LSHandlerRank. Its type is String. For new file types, the value should be Owner because your app owns the file type. For existing file types the value should be Alternate. The alternate handler rank allows your app to edit files of the file type but keeps your app from being the default app to edit files of that type. Suppose you’re making an image editor that lets people edit PNG files. By making your app the alternate editor, you can edit PNG files in your app without forcing people to use your app to edit all PNG files.
Supply a Blank File to Create Documents
You need to create a blank file when someone chooses to create a new document. Otherwise tapping the Create Document button does nothing. The easiest way to create a blank file is to add an empty file to your project whose file extension matches the name of your document’s file extension. Your app will load this file from the app bundle when someone creates a new document.
Add an Exported UTI
If you are creating a new document type, you must add an exported UTI for the document type. The exported UTI lets the operating system and other apps know of the existence of your new file type. Exported UTIs are in the same section as document types in Xcode’s project editor.
Enter your document’s UTI in the Identifier text field. The UTI should take the form com.CompanyName.FileType. Enter any additional UTIs your exported UTI supports in the Conforms To text field. If your document saves its contents in a file package instead of a single file, you would add the UTI com.apple.package in the Conforms To text field.
You also must add an additional exported UTI property. The key is UTTypeTagSpecification, and its type is Dictionary. You must create two dictionary items. The first item has the key public.mime-type. Its type is String. Its value is the UTI for your document type.
The second item has the key public.filename-extension. Its type is String. Its value is the file extension for your document. Do not add a dot in front of the file extension.
Document Browser Delegate Functions
Handling creating a new document requires you to implement two delegate functions in the document browser view controller: didRequestDocumentCreationWithHandler and didImportDocumentAt. You load the empty document file from the app bundle in didRequestDocumentCreationWithHandler when someone creates a new document.
Fortunately the document browser view controller in Xcode’s document-based app project template provides basic versions of these two delegate functions for you. Unless you’re doing something like Pages, where creating a document opens a template chooser, you won’t have to write much code. In the project for the second part of this article, I had to add one line of code in didRequestDocumentCreationWithHandler and change one other line of code.
Handling selecting a document from the document browser requires you to implement the delegate function didPickDocumentURLs in the document browser view controller. The document browser view controller provides a basic version for you to use. In the project for the second part of this article, I didn’t have to change anything in didPickDocumentURLs.
Saving Documents
To save a document you must override the contentsOfType function in the UIDocument subclass. Xcode’s document-based app project template provides an empty function for you to fill in. In most cases you’ll use the NSKeyedArchiver class to save the document data.
Opening Documents
To open a document you must override the load function in the UIDocument subclass. Xcode’s document-based app project template provides an empty function for you to fill in. In most cases you’ll use the NSKeyedUnarchiver class to read the document data from the file.